Taking photos of products doesn’t always require buying additional gear. In this section we’ll go over some aspects that should help take product photos with the equipment that you (most likely) already own.
To start, clear a decent space around – particularly behind – the product that you are looking to take a photo of. A clear space makes for a tidier representation and shows clearly which product you’re showing.
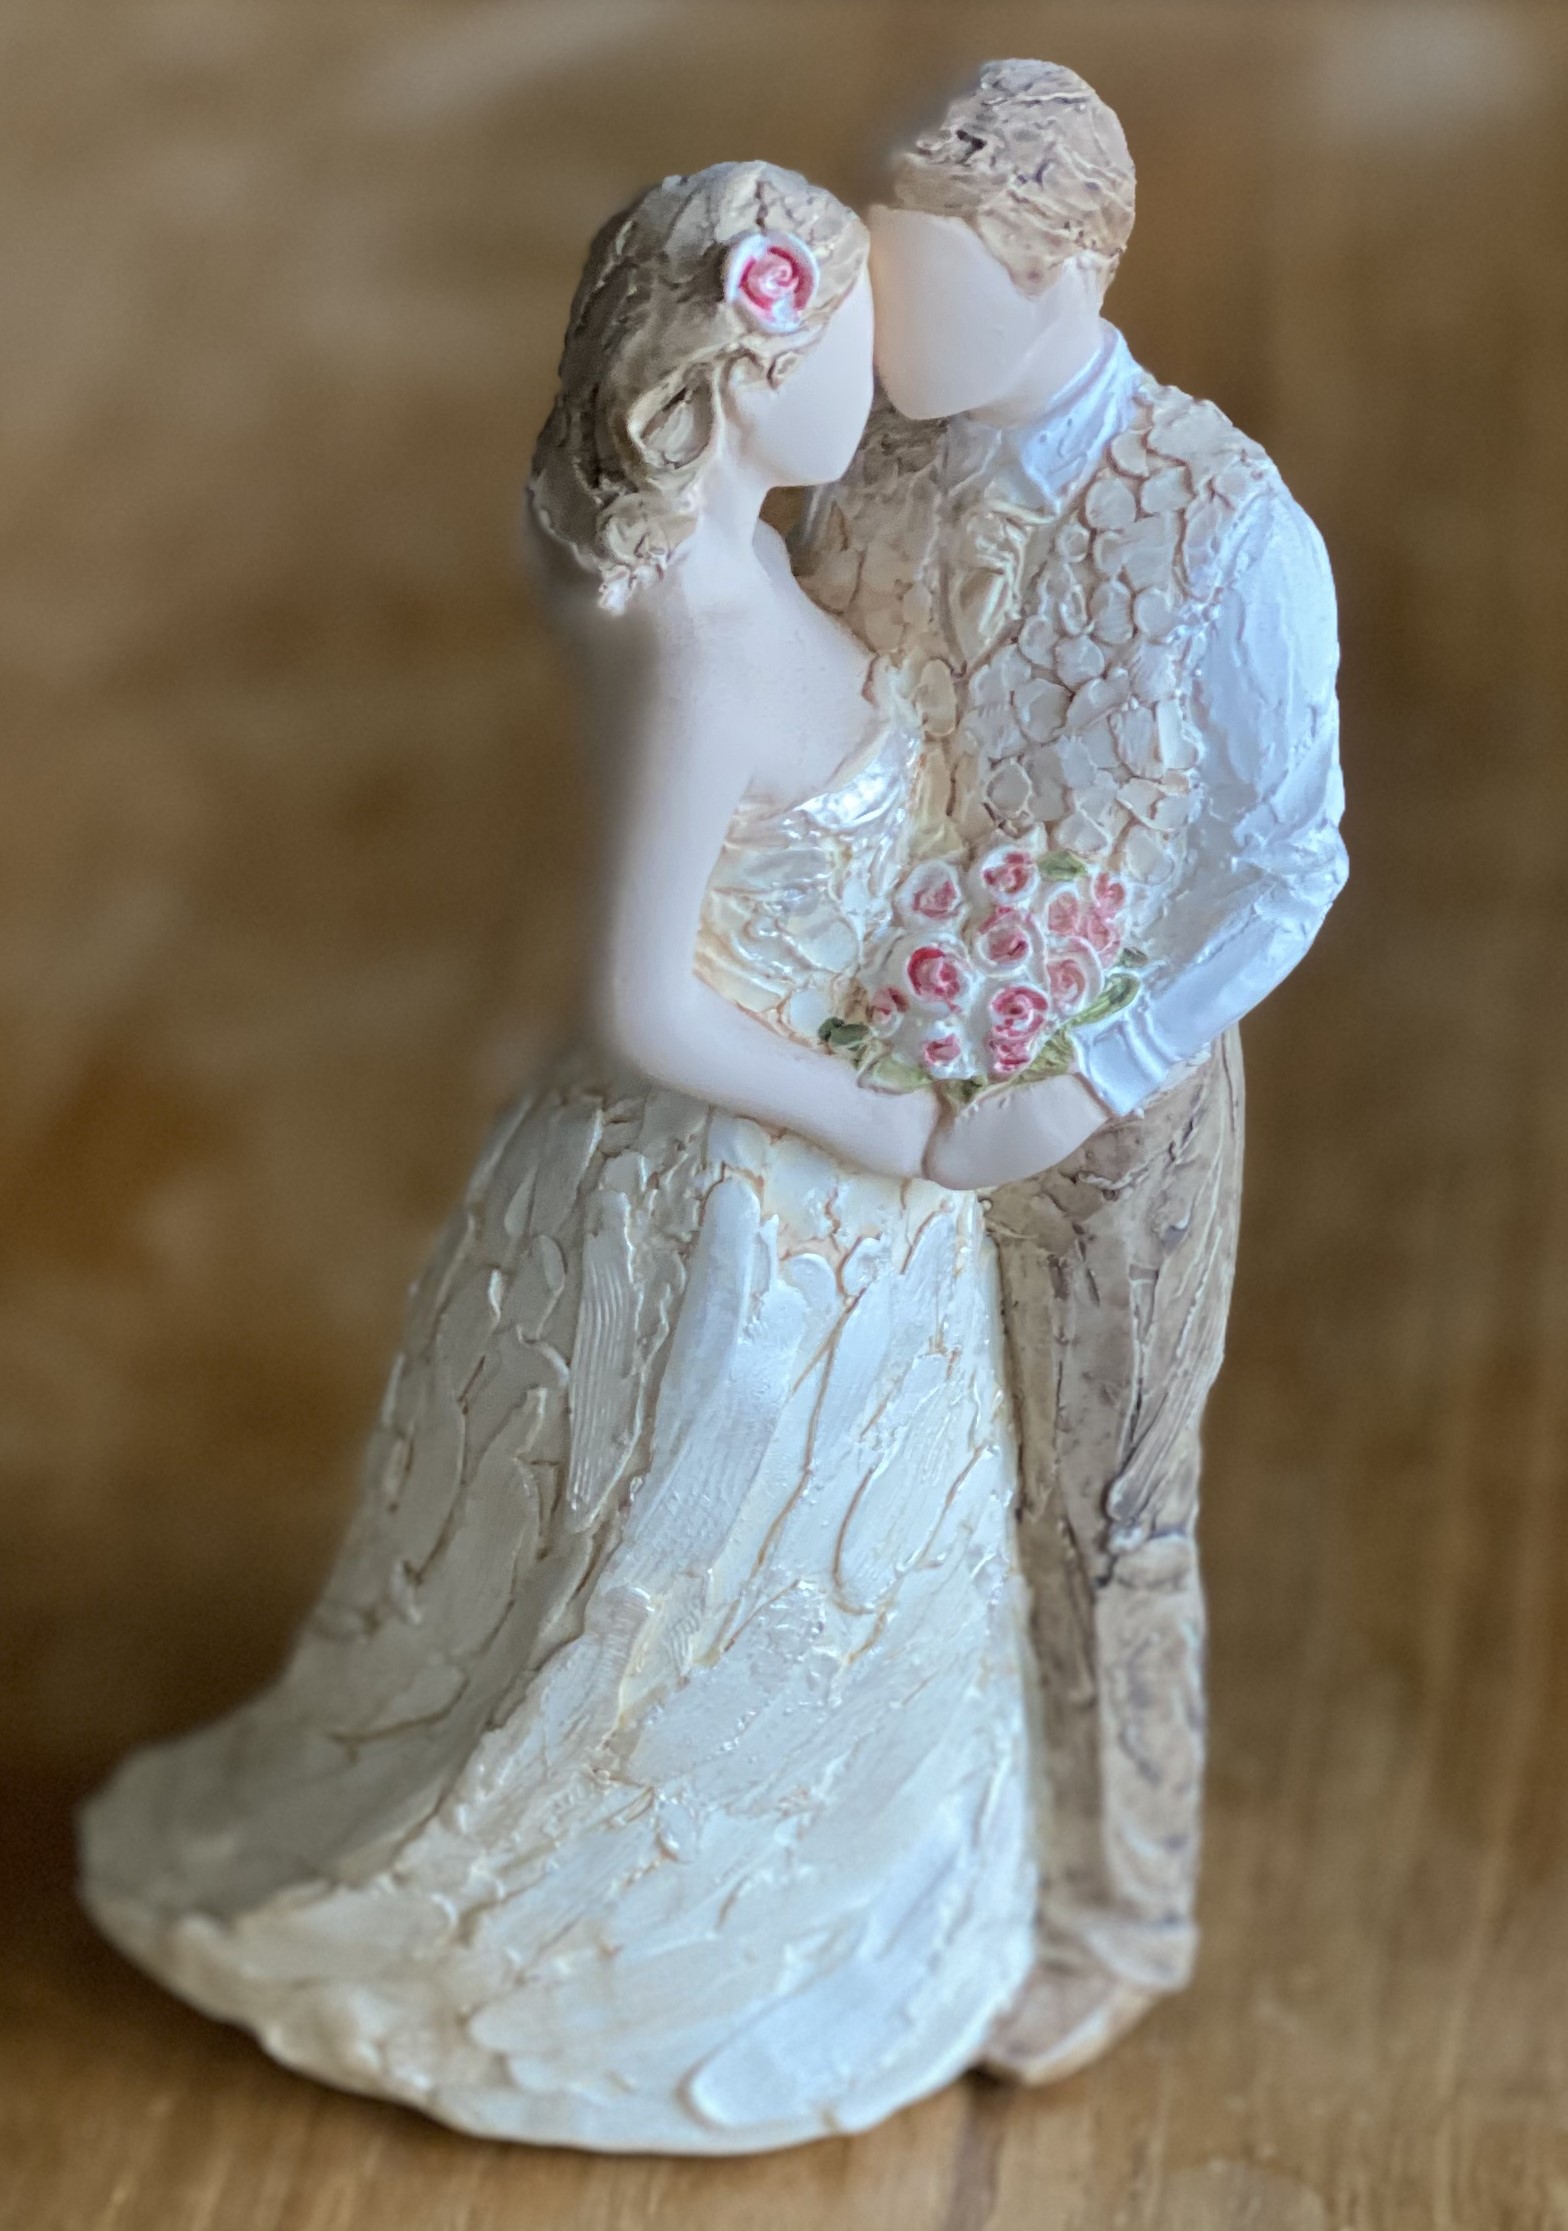
All of these photos were taken on an iPhone 11 Pro, just holding the phone up to the product. Due to the advancements of camera technology in phones you can get nice, crisp, clean photos from the majority of phones nowadays.
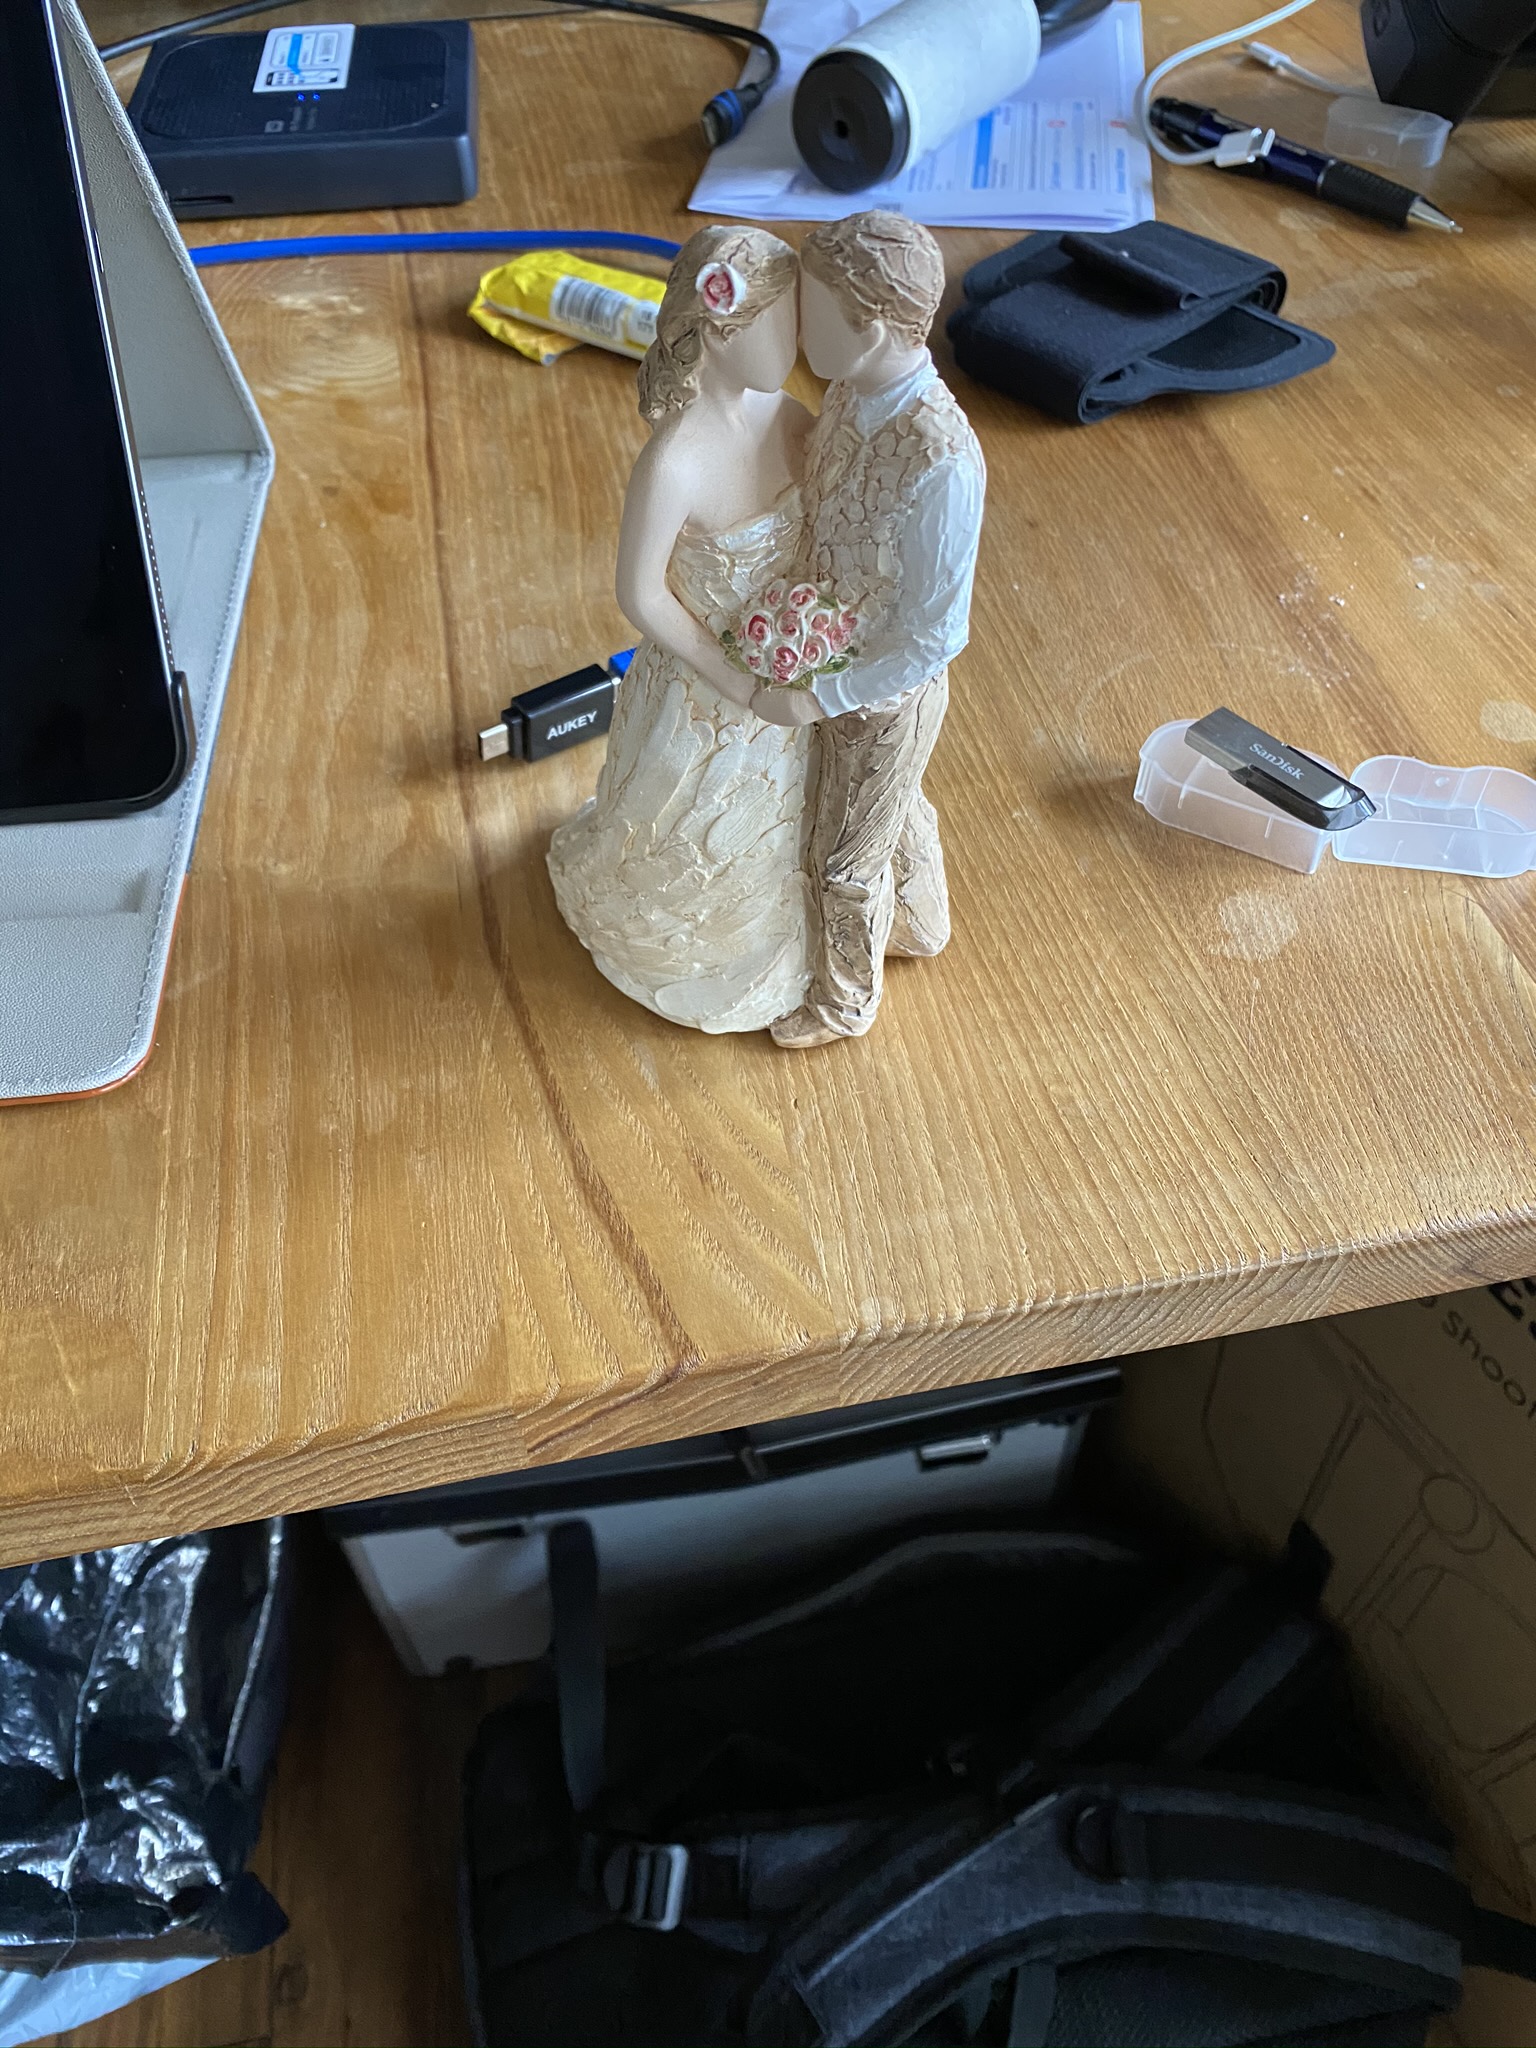
In the photo above it’s a clear image but there’s a lot going on around the product, making for an unappealing view. This also doesn’t leave much freedom to move the product around, particularly if you have a large product. Get down low as well when you take your photo – more of a head-on view will show off more detail, compared with the angled photo above.
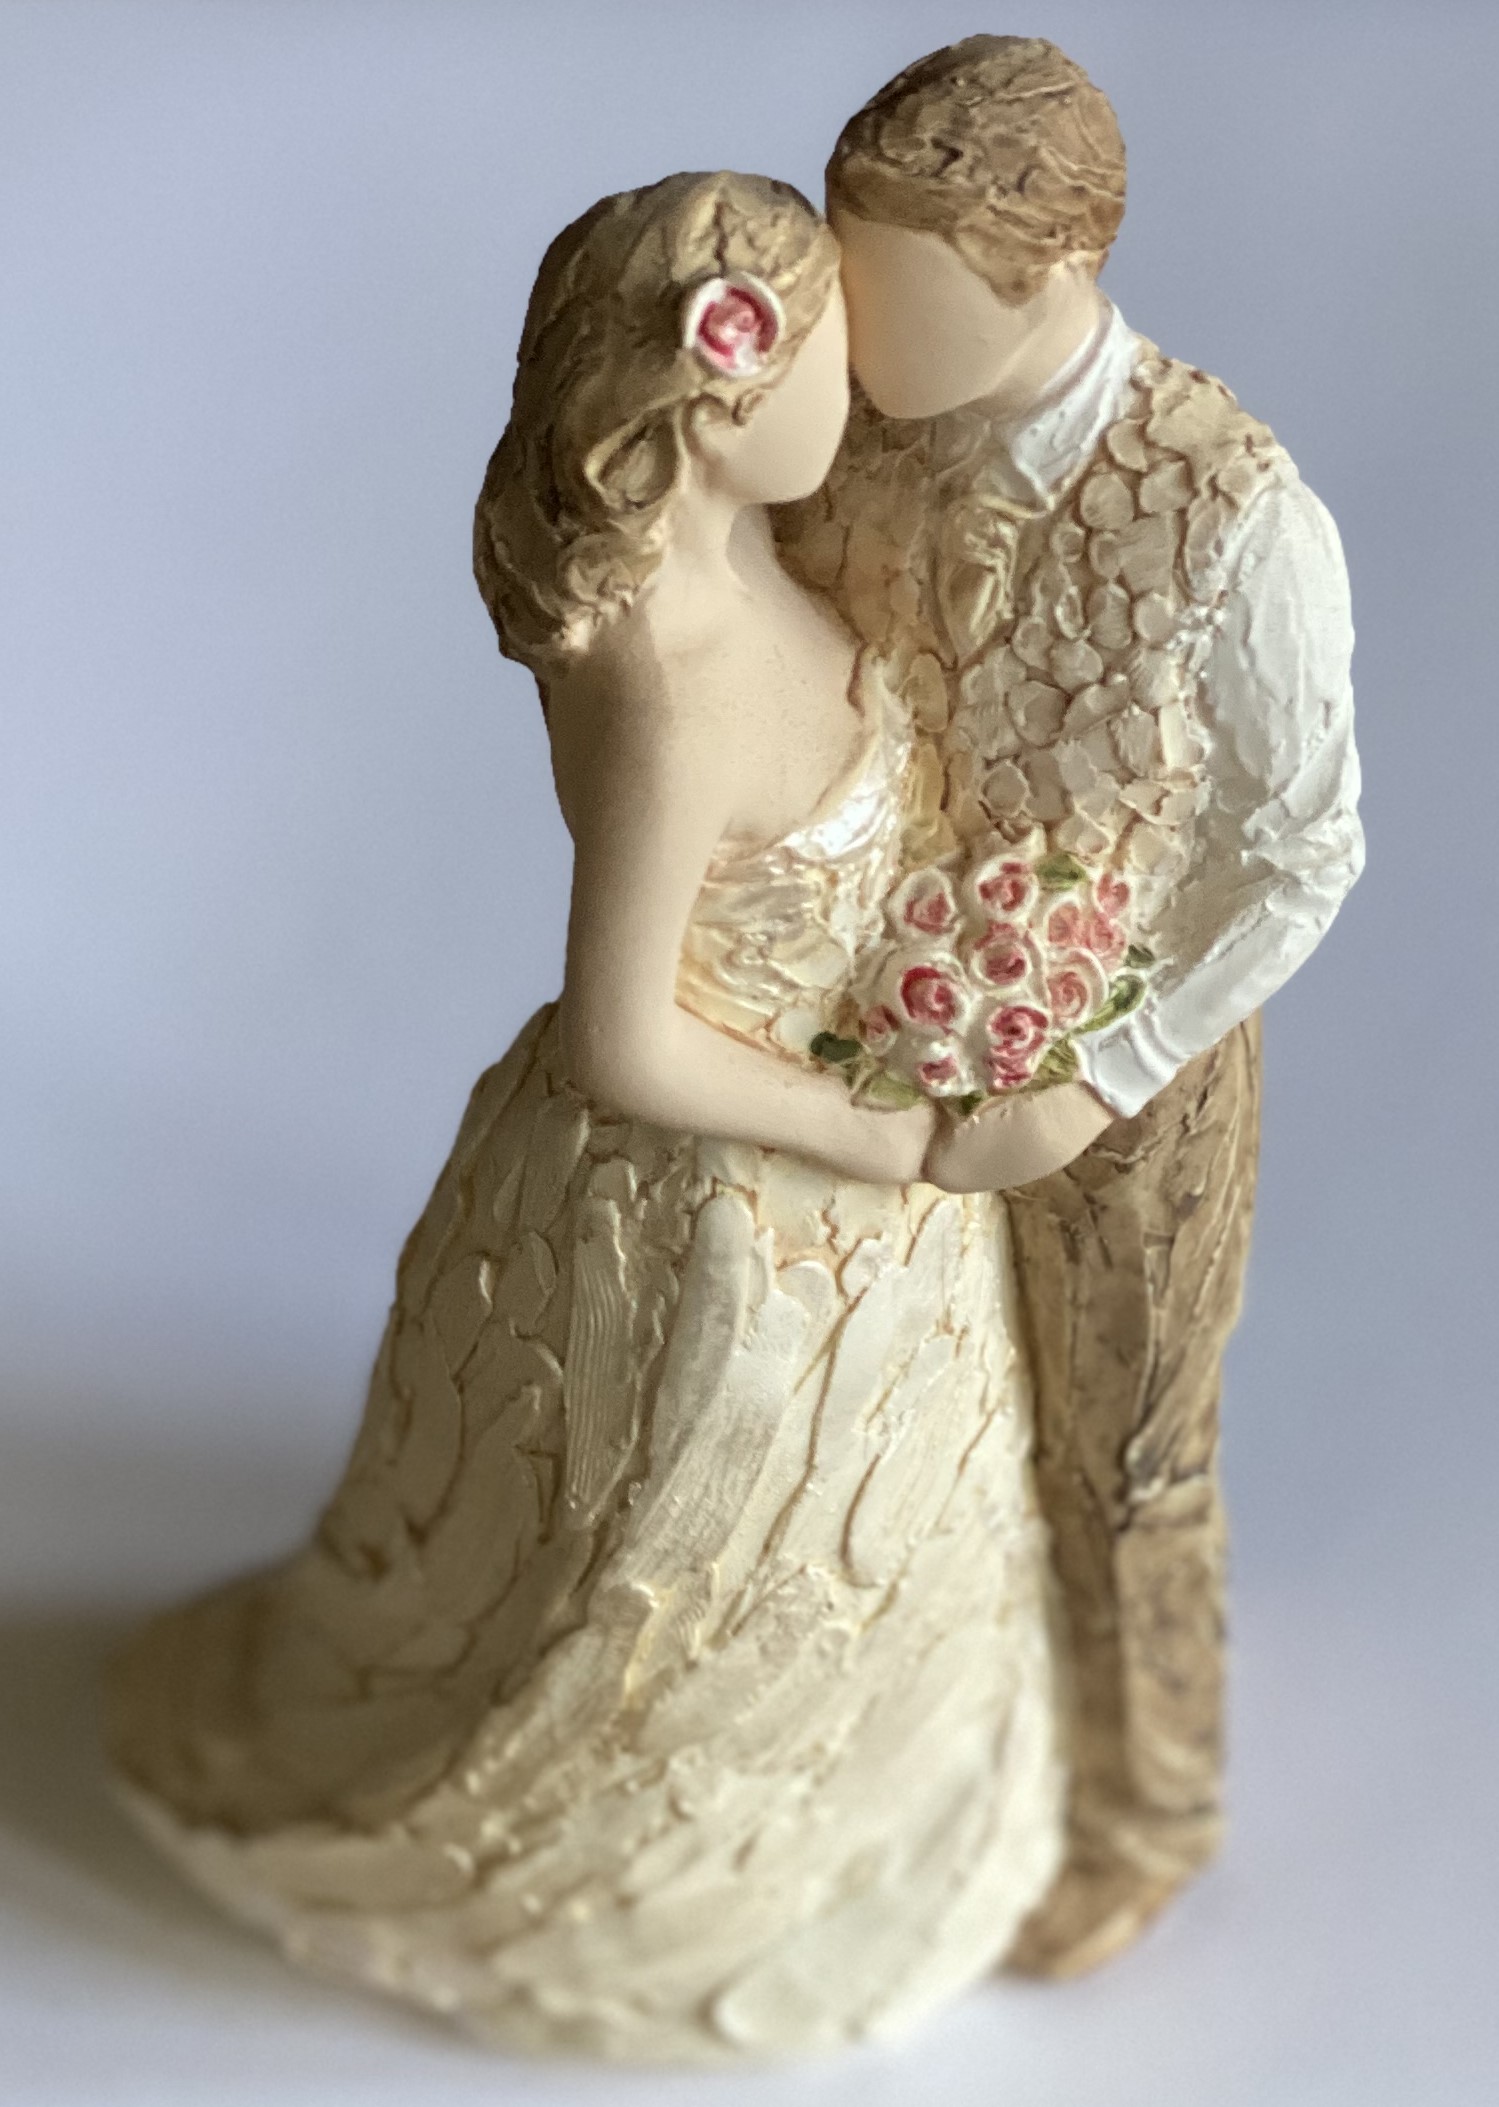
You can use portrait mode on your phone if you have that function available. This provides a similar effect to decreasing the aperture size (for example, f1.4, which will provide more of a background blur to f4.0 – more about that in the gear article).
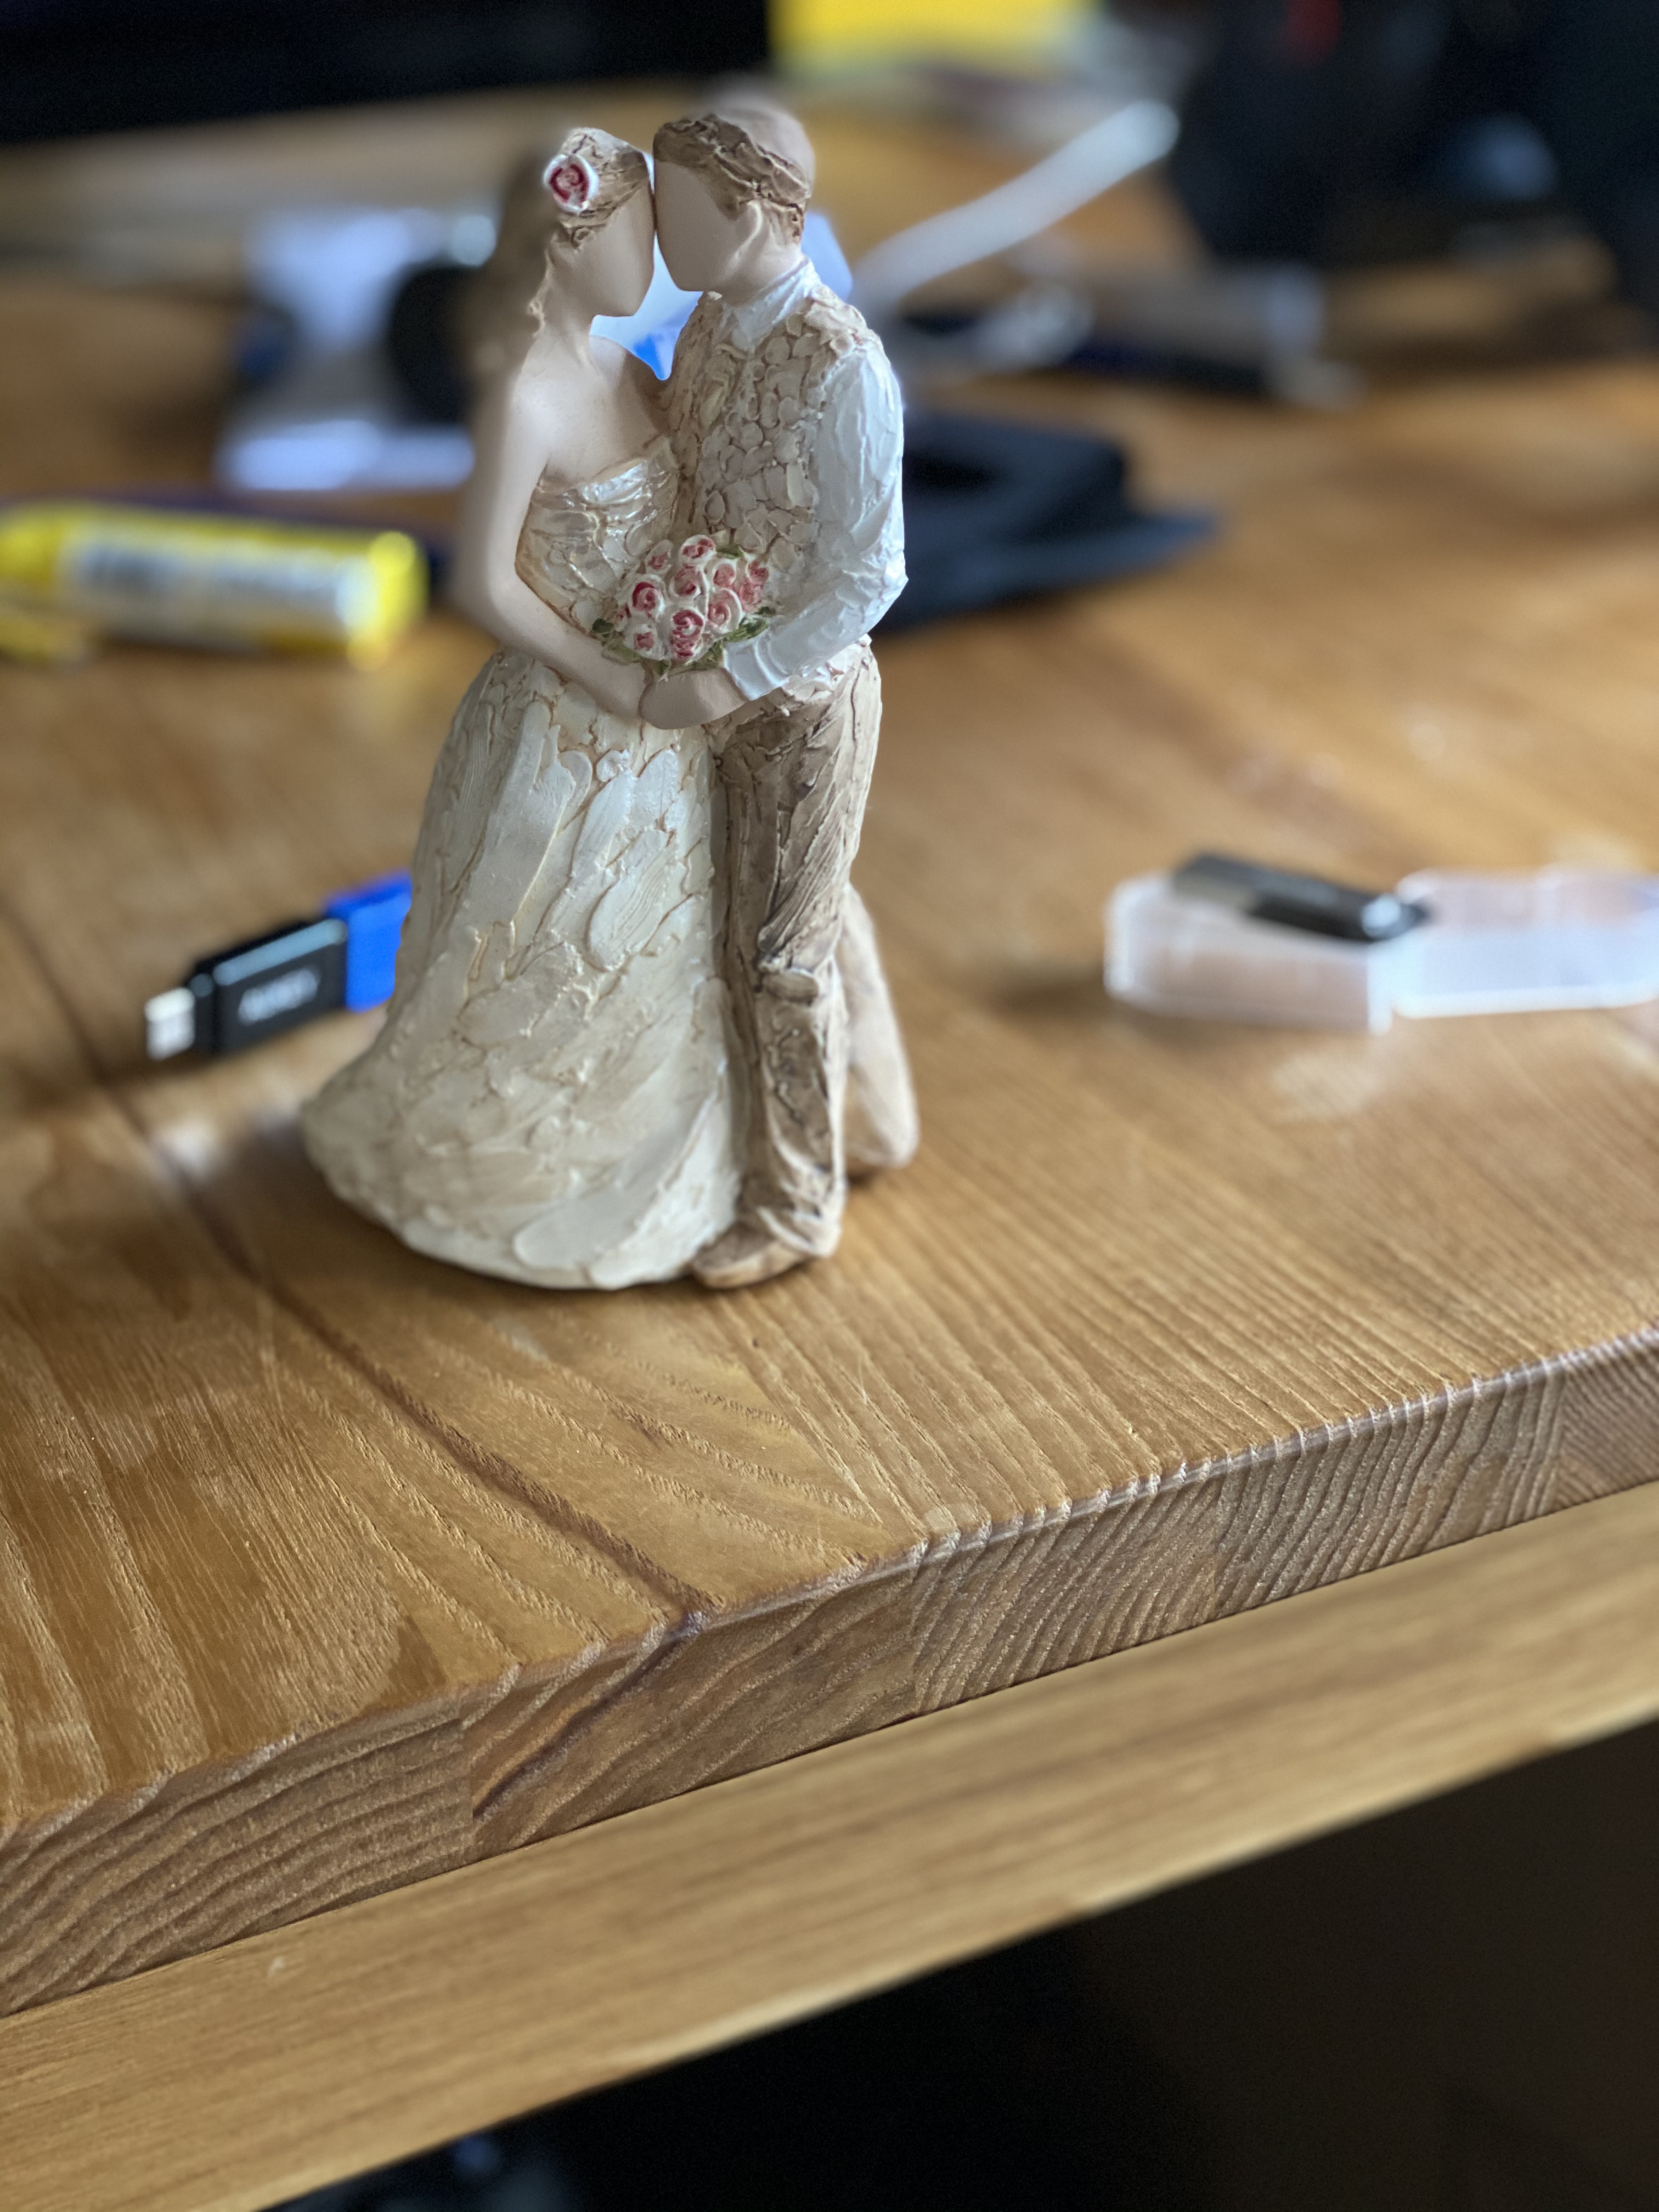
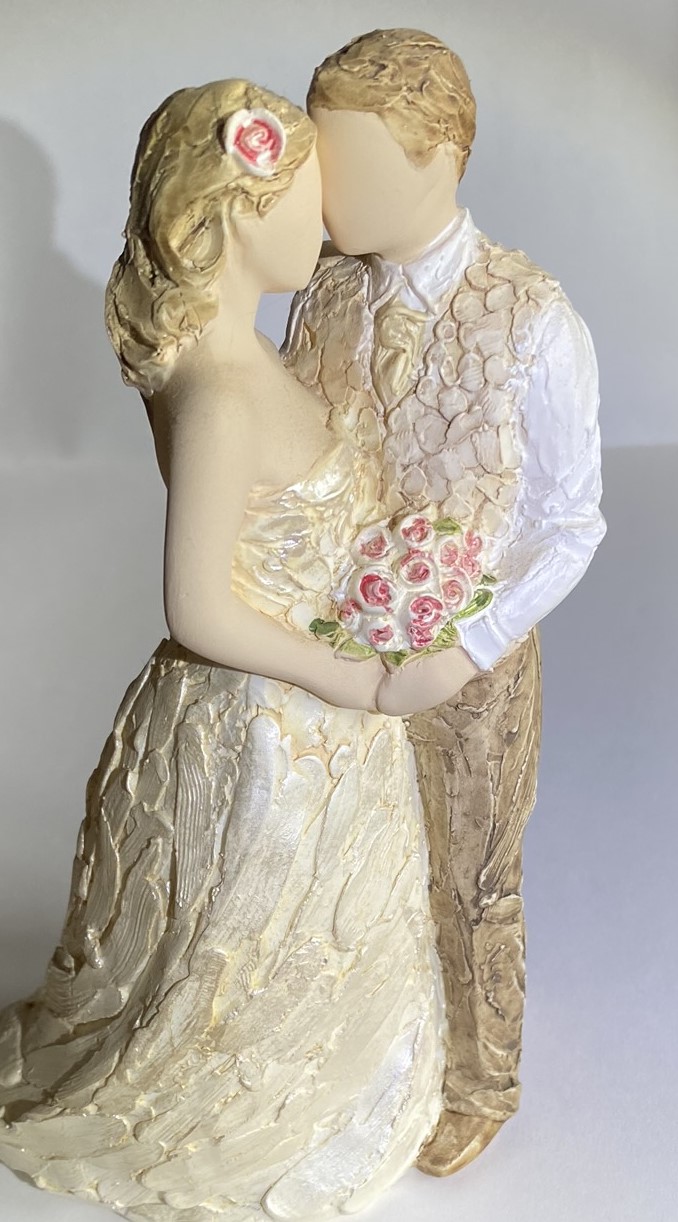
If we then crop in on this, this will clear up the picture even further and allows for a better look at the product.
On Windows 10 right-click the image, select “Open With…” then select “Snip & Sketch”, which is an application built-in to Windows. The crop logo at the top ![]() will allow you to drag the corners in on the product. Alternatively you can press Alt+R.
will allow you to drag the corners in on the product. Alternatively you can press Alt+R.
On a Mac open the file using Preview (the default picture viewer) and click Show Markup Toolbar option (or View > Show Markup Toolbar or press CMD+Shift+A. Click the rectangular selection box, select the area that you want to keep then click crop from the toolbar.
Snapseed on Android or iPhone (US / UK) is a free utility. Open the image in Snapseed then select Tools, followed by Crop.
Have a look at the free tools section for alternative recommendations for cropping images.
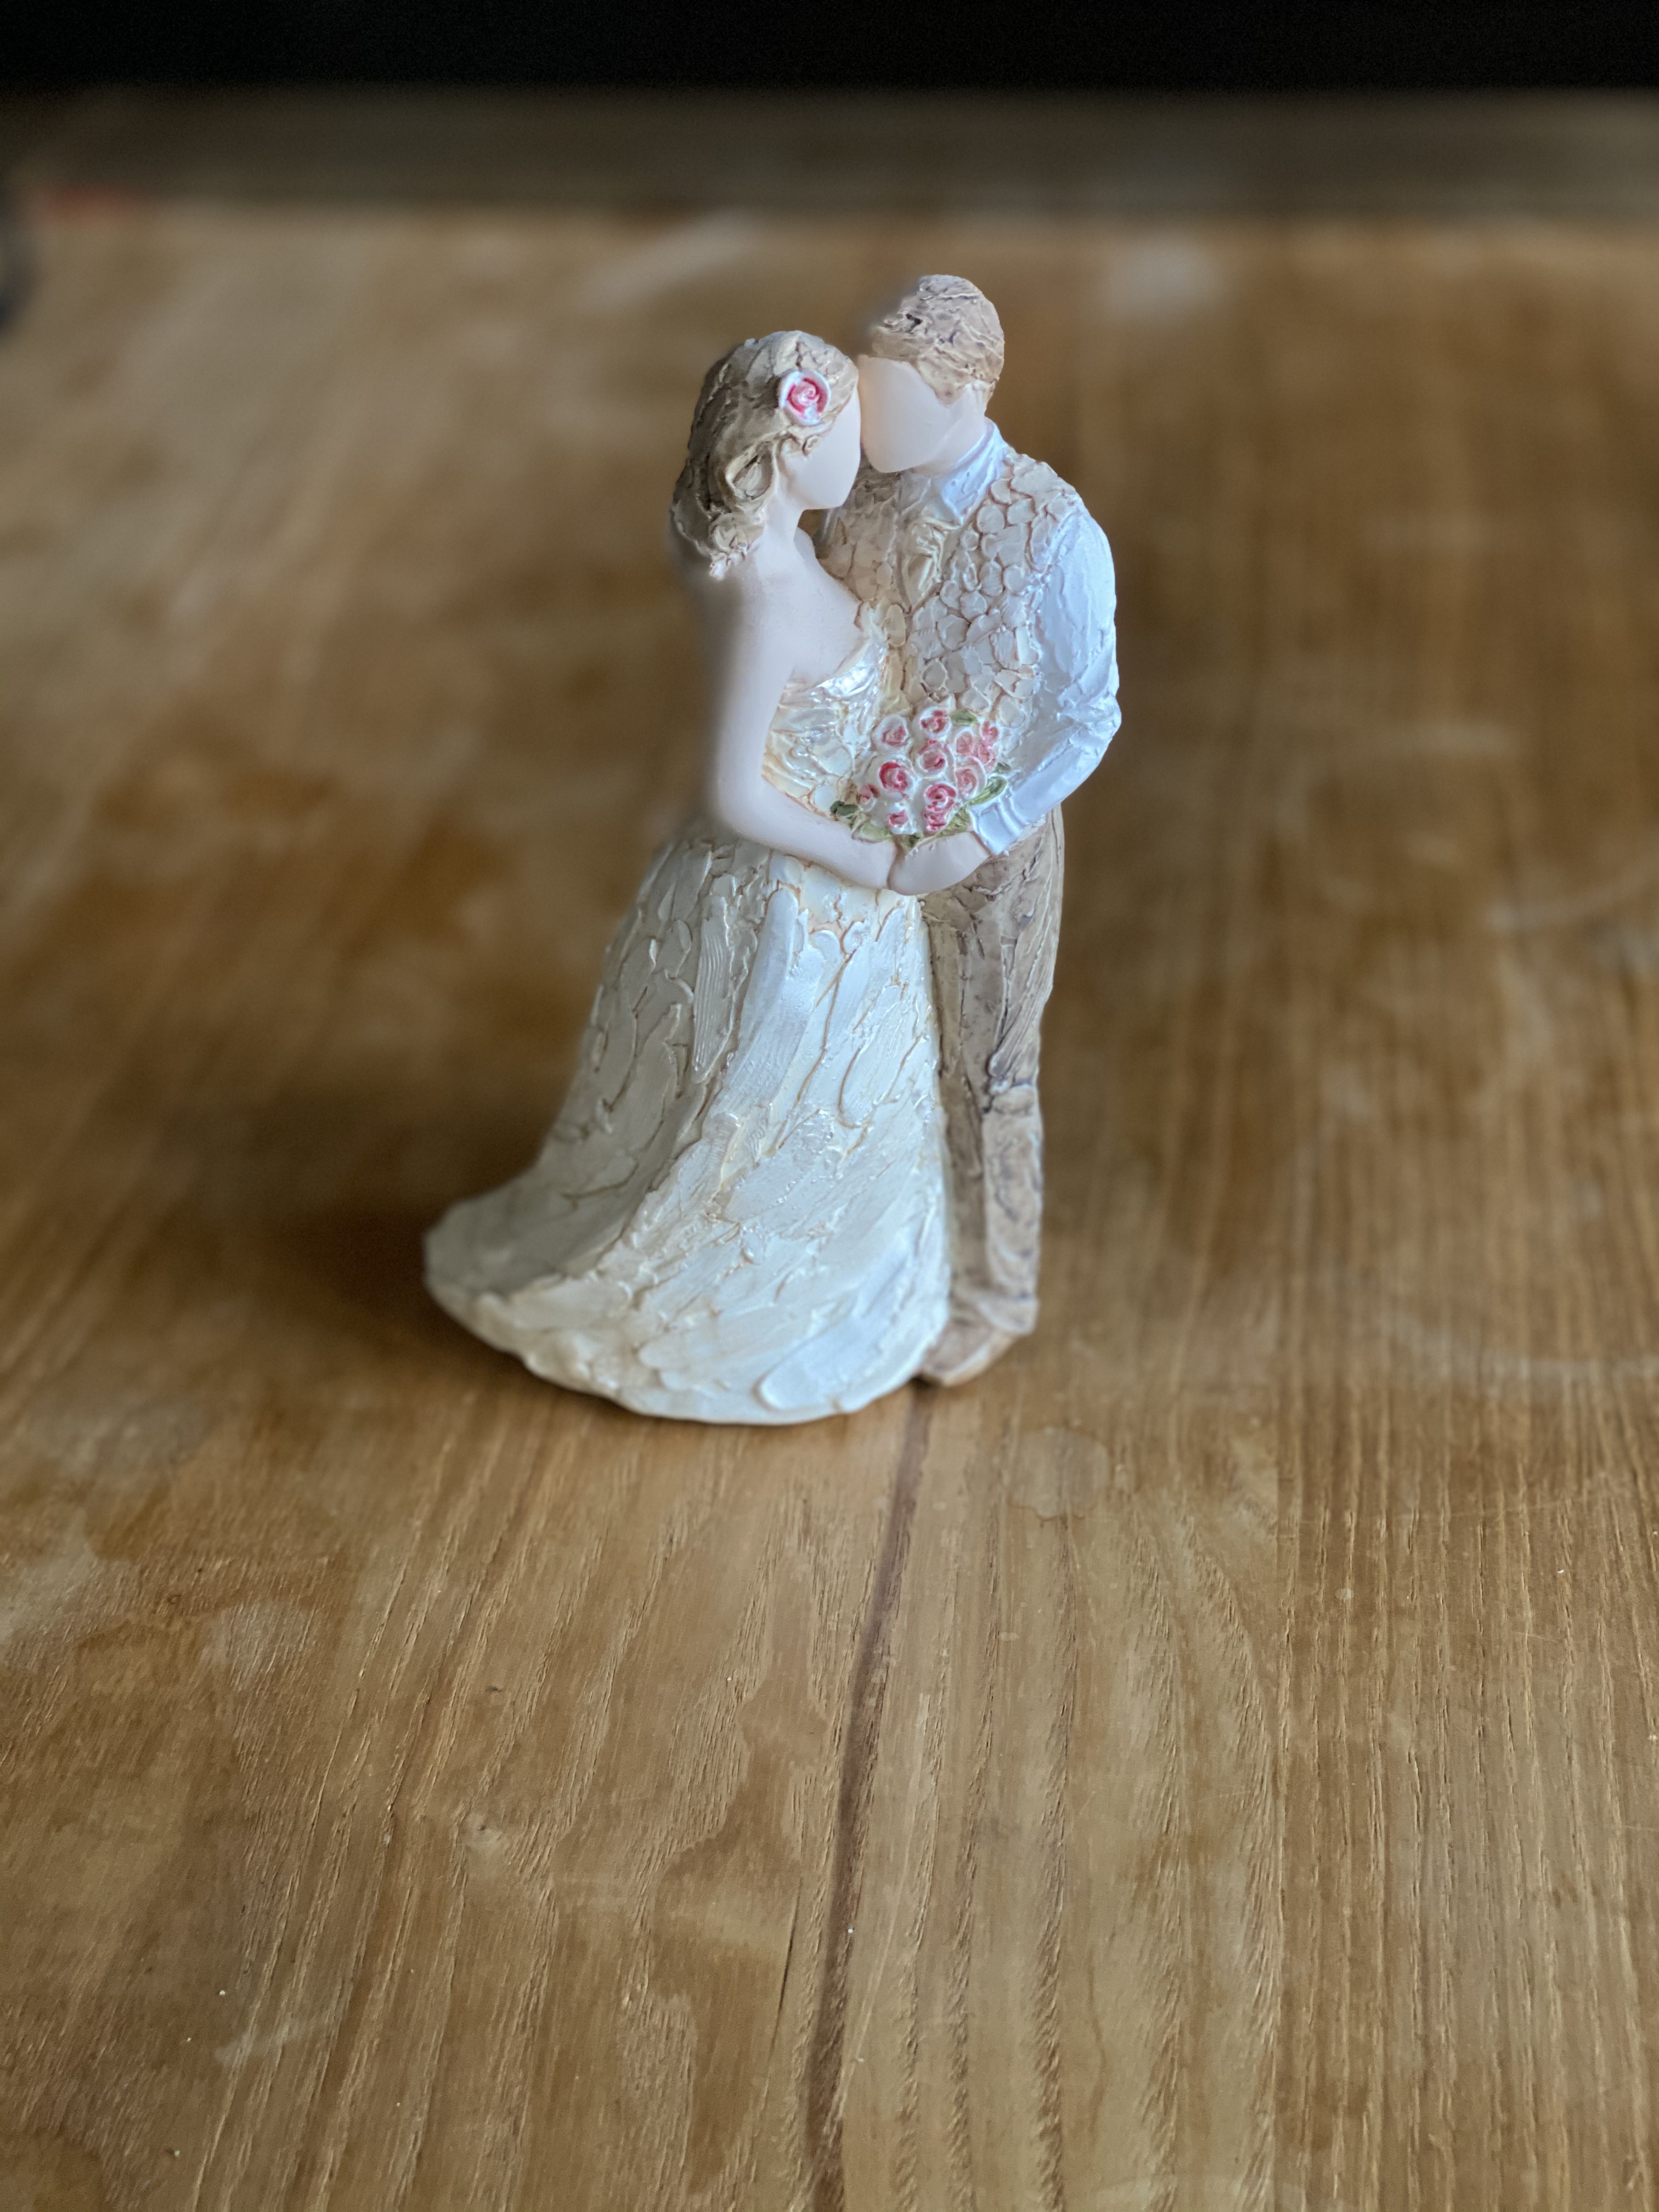
You can use household items to change the look of the background if the surface that you placed the item on is uneven or if, for example, your table needs a new coat of oil.
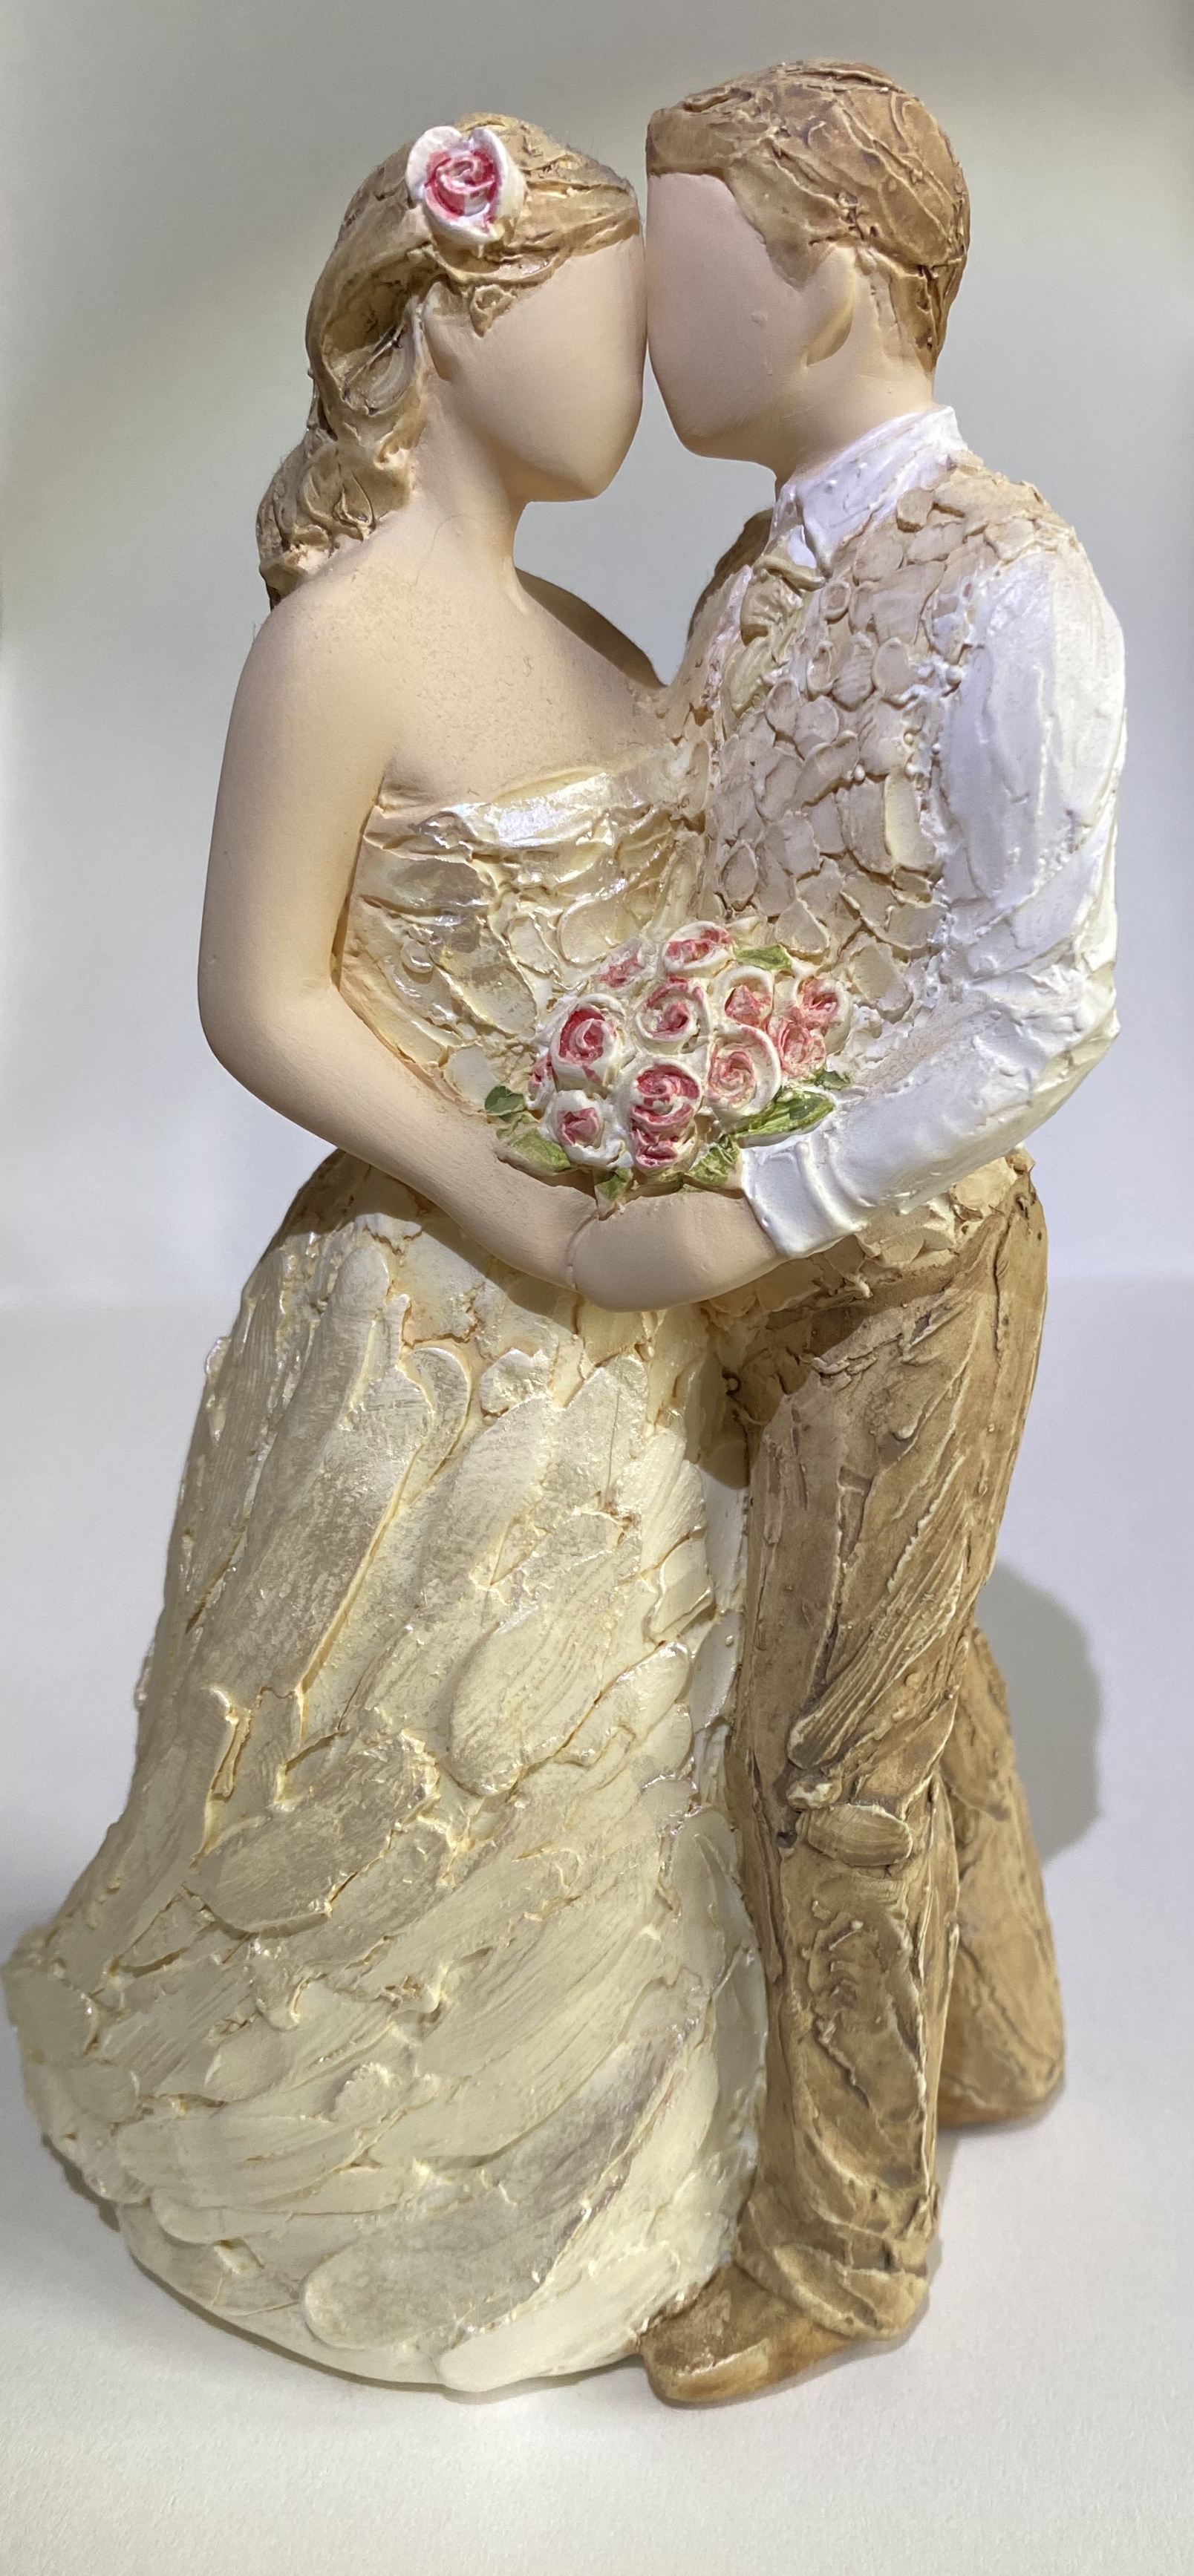
Using a torch, optionally, can also help to brighten up any shadowed areas of your product. For this I held up a torch in one hand and the phone in the other. The back-drop is just a pad of plain, white A4 paper.
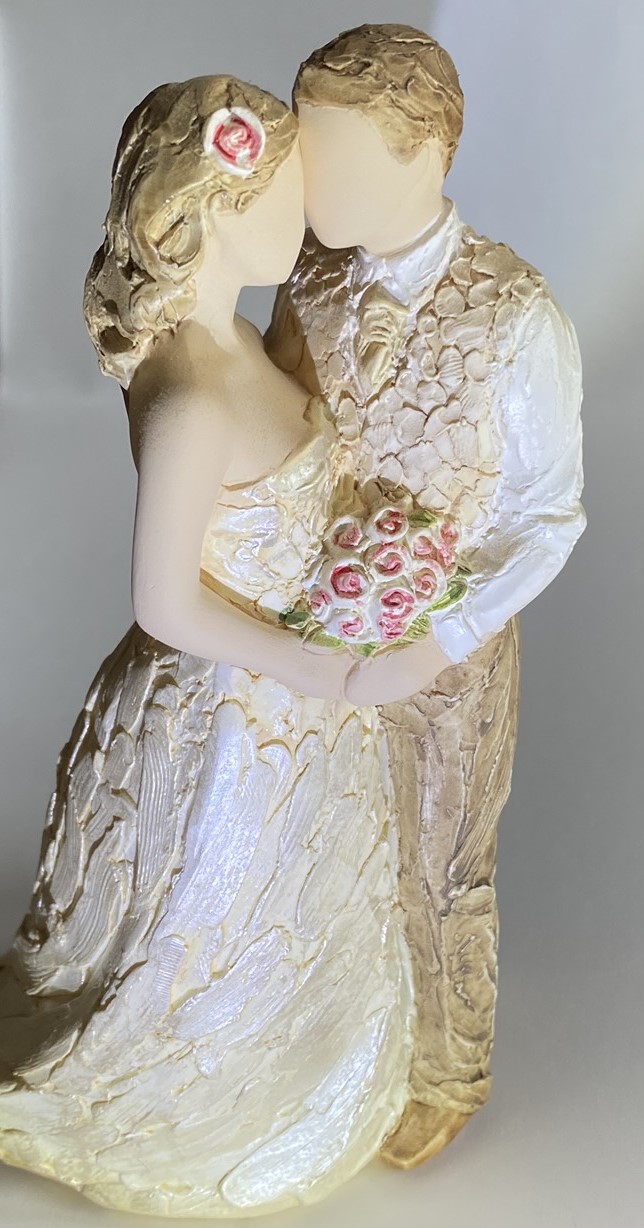
With a torch, a phone, some A4 paper and a quick crop, this takes the product’s image to a presentable standard.